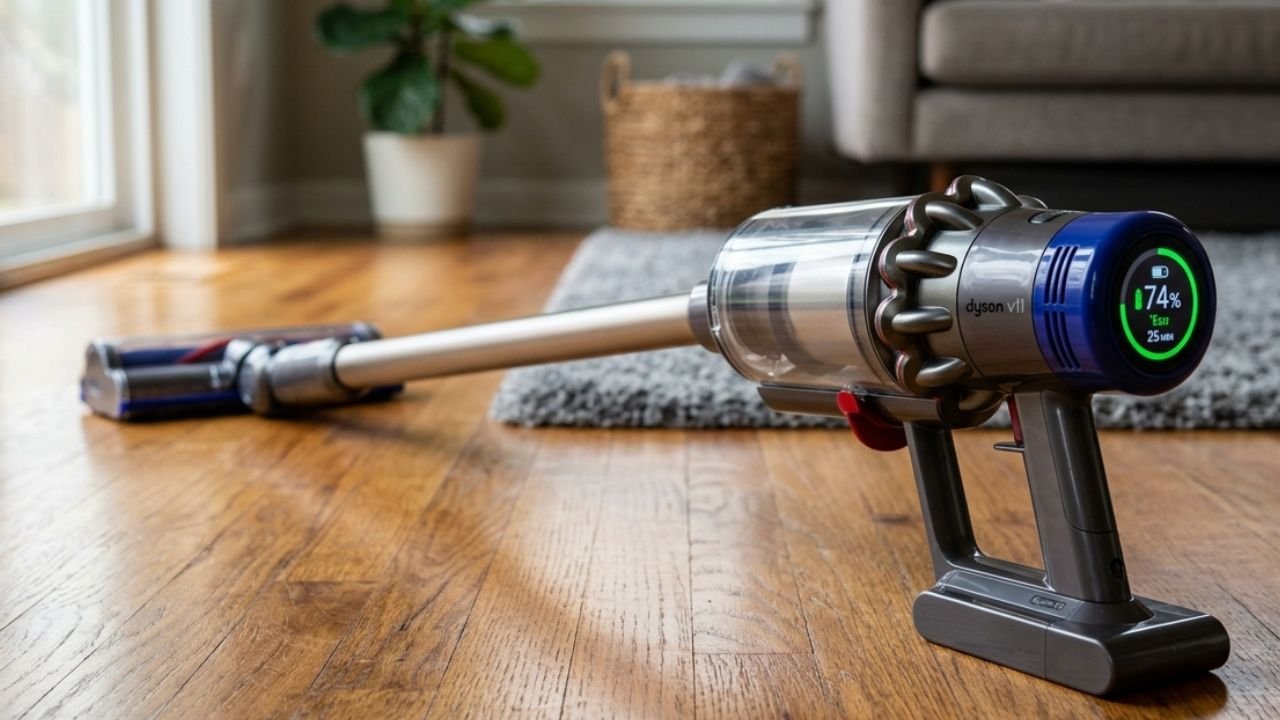
Did your premium stick vac suddenly start stuttering, stopping, or acting completely dead? Nothing ruins a quick house cleaning session faster than a machine that refuses to pull dirt out of your carpet rug. If you are hunting down a dyson v11 cordless vacuum losing suction power fix, you have come to the right place.
Before you drop hundreds of dollars on a brand-new battery or assume the digital engine core just conked out, take a deep breath. Whether you are dealing with a standard dyson v11 losing suction issue or a stressful ghost error where your dyson says airway blocked but it isn’t, you can absolutely get that deep suction power back yourself in less than 10 minutes.
When a dyson cordless vacuum losing suction loop begins, it is almost never a fatal hardware failure. Let’s skip the confusing, dry user manuals and walk through the exact, literal micro-steps to get your machine running like new today.
⚠️ MANDATORY COMPLIANCE: SAFETY FIRST
Stipulation 1.1: Before performing any structural teardown or washing components, ensure the machine is completely powered off and physically slide the click-in battery pack out of the base handle. Water and live lithium-ion circuit boards do not mix!
Table of Contents
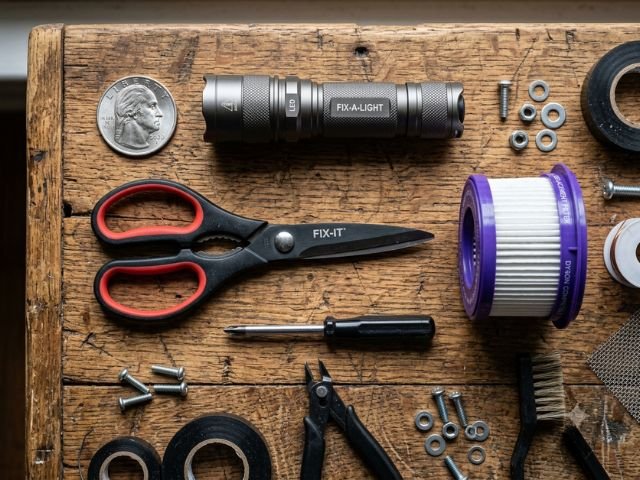
Gear Up: Your DIY Toolkit
- A Quarter (25-Cent US Coin): To open the brush bar end-cap latch.
- A Bright Flashlight / Torch: To spot deep, dark clogs inside the long metal wand.
- An Air Compressor or Can of Compressed Air: Crucial for blowing out microscopic debris clusters.
- A Pair of Scissors: To slice free wrapped pet hair from the brush roller.
Part 1: Deciphering the Dyson V11 LCD Screen Diagnostics
Your Dyson V11 is essentially a smart computer attached to a stick vacuum. Instead of blindly poking around the machine, let the onboard digital display tell you why you are facing a dyson cordless vacuum losing suction crisis.
1. The Pulsing/Stuttering Engine Motor
- The Symptom: You pull the trigger, and the motor revs up and down repeatedly (vroom, vroom, vroom) before cutting off entirely.
- The Meaning: If you want to know why does my dyson keep cutting out, it is due to an intentional safety feature. The motor triggers a dyson v11 pulsing fix sequence, cutting power to prevent the main digital engine from overheating due to a lack of exhaust ventilation. It screams airflow blockage.
2. The LCD Screen Status Alerts
- The Blockage Icon: This lights up when a physical obstruction is trapped somewhere between the floor head and the intake throat. If you find that the dyson v11 airway blocked message won’t go away, it means the pressure sensors still detect a vacuum seal issue.
- The Filter Alerts: If you get a dyson v11 filter message after washing, the pressure sensors inside the motor head detect that the rear HEPA filter is either choked with fine drywall dust or has not been twisted tightly into its structural alignment notches.
Part 2: Resolving Real & Visible Airway Blockages
Let’s trace the entire suction loop from the floor to the exhaust vents to address the root causes of why your dyson v11 losing suction power.
Step 1: Isolating and Clearing the High-Torque Cleaner Head
- Lay the vacuum flat on a clean table or floor surface.
- Press the red quick-release click button at the base of the wand and pull the motorized roller head completely away from the metal stick.
- Turn the cleaner head upside down to expose the brush bar.
- The Fault: If you notice your dyson v11 floor head brush not spinning, a physical jam is stopping the motor.
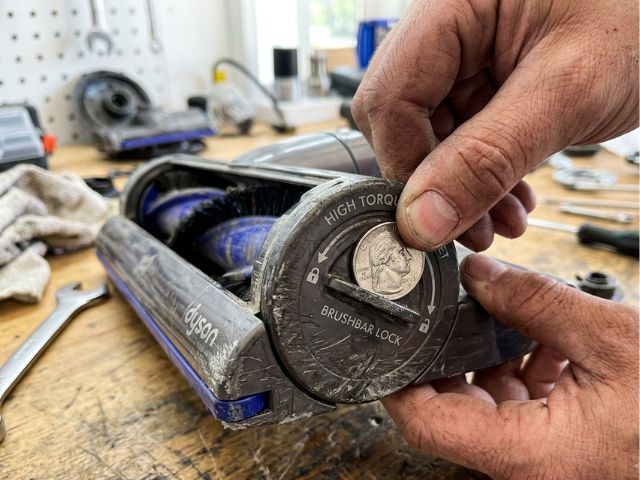
- Take a flat quarter (25-cent coin) and insert it into the locking notch on the side profile of the head casing. Turn it counter-clockwise to unlock the end cap.
- Slide the entire bristle roller bar straight out of the housing channel.
- Use a pair of sharp kitchen scissors to cut along the built-in groove to slice free wrapped hair or carpet fibers.
- Shine a flashlight directly into the clear plastic throat elbow of the cleaner head to check for stuck toys or debris. Slide the bar back in and lock the cap.
Step 2: Checking the Metal Wand Extension Tube (The Coin Test)
- Remove the long metal wand from both the floor head and the main body.
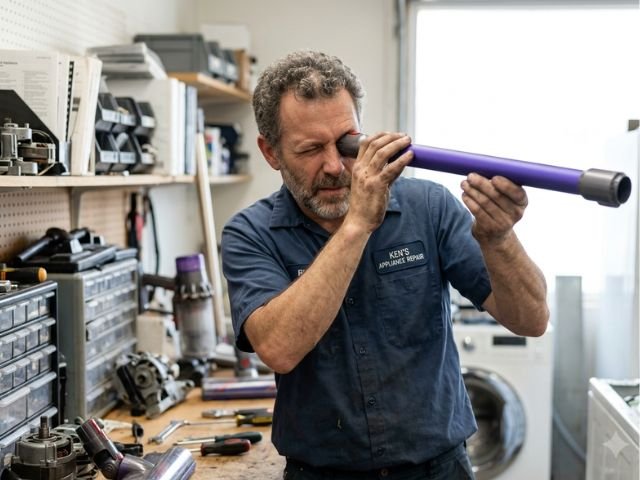
- Hold the wand vertically up to your eye like a telescope.
- Drop a US quarter (25-cent coin) straight down the top opening of the tube.
- The Verdict: If the coin does not fall straight through to the floor, a clump of hair or a large debris item is wedged inside. Use a long broom handle or a straightened coat hanger to gently push the clog cleanly out the other side.
Step 3: Clearing the Cyclone Inlet Flap
- Hold the main motor handle over a trash can. Pull down on the red bin release lever to slide the clear dirt canister open.
- Look closely at the entry throat where the wand connects to the main body. Inside, you will see a small, flexible red rubber inlet flap.
- Reach inside with your index finger or a pair of long needle-nose pliers and pull away any wedged debris clusters restricting the flap movement.
Part 3: Dyson V11 Cordless Vacuum Losing Suction Power Fixing the “Ghost Blockage” Loop
If you have cleared the wand, washed the filter, and emptied the bin, but your unit still acts up, you are dealing with a dyson v11 ghost blockage reddit users complain about constantly. This means you have a dyson v11 airway blocked but no blockage nightmare. Here are the two deep technical fixes to clear it:
Fix 1: Micro-Dust Clogged Cyclone Ports
- The Issue: Inside the purple cyclone shroud are small cone-shaped tubes. Over time, fine dust cakes inside these micro-tubes. This chokes the internal air pressure sensors, tripping the blockage sensor even if the main tube is clear. To fix this, you must learn how to clean dyson v11 cyclone tubes deep inside the frame.
- The Step-by-Step Fix:
- Slide the clear plastic dust bin completely off the vacuum frame by pushing the red release tab all the way down.
- Take the main motor housing out to your garage or backyard.
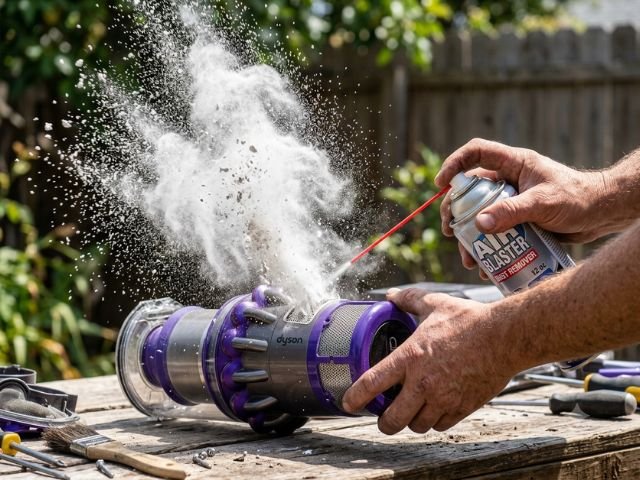
- Grab a can of compressed air or an air compressor set to a low PSI.
- Blast air directly into the tiny mesh holes of the silver shroud and up through the bottom of the cyclone cones.
- The Shock Factor: You will see a massive cloud of fine white dust explode out of the unit. Keep blasting until no more dust escapes. Assemble the unit and pull the trigger—the ghost error will be completely gone.
Fix 2: The Voltage-Drop Sensor Glitch
- The Issue: If your Dyson V11 battery pack is approaching 3 to 5 years old, its lithium-ion cells degrade. When your dyson v11 cuts out on boost mode, it is usually a battery issue rather than a clog. The motor demands massive power in Boost, causing a degraded battery to suffer a sudden voltage drop, which the digital control board misinterprets as an airflow restriction.
- The Step-by-Step Fix:
- Toggle the eco/med/boost button on the back of the LCD screen down to Eco Mode.
- Run the vacuum on a flat hard floor.
- If the vacuum runs smoothly in Eco but pulses and flashes the blockage screen the moment you switch to Boost, your battery is simply failing under heavy loads and needs a swap.
Part 4: Deep HEPA Filter Maintenance (The 24-Hour Rule)
If you get a stubborn dyson v11 filter message after washing, your rear HEPA filter shroud (Part #970013-02) is likely holding internal dampness or fine dust particles that regular tapping won’t remove.
The Deep Wash Protocol:
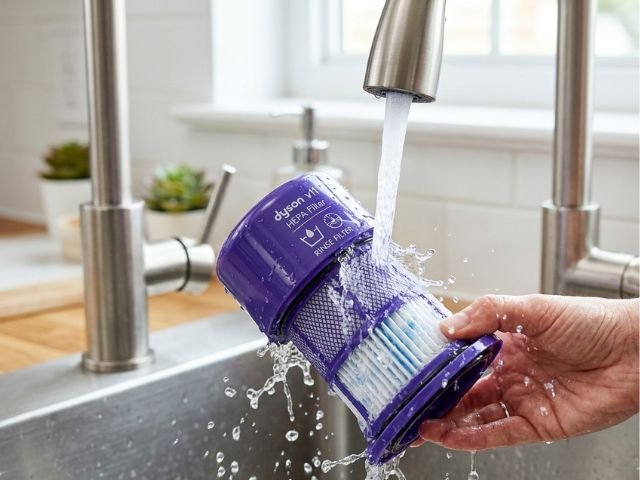
- Grip the purple filter casing at the absolute rear of the motor head. Twist it counter-clockwise and pull it straight back to disconnect it.
- Tap the filter firmly inside your trash bin to shake loose any heavy dust blankets.
- Run cold, clean tap water directly through the inside of the filter cone. Do NOT use dish soap or laundry detergents.
- Cup your hand over the open end, fill the cone with water, and shake it vigorously to dislodge fine dust particles locked within the paper pleats. Repeat until the water runs 100% crystal clear.
- The Golden Rule (Stipulation 2.1): Firmly squeeze the foam element with a dry towel to expel excess moisture. You MUST leave the filter assembly out to air-dry in a warm room for a minimum of 24 full hours. Snapping a damp filter back onto a Dyson will instantly suck water into the digital motor board, frying your engine and completely voiding your warranty.
Part 5: The Money Talk — DIY vs. Professional U.S. Rates
Dyson vacuums are high-end appliances, and shipping your unit to an authorized service depot can cost a pretty penny if your warranty coverage has expired.
| Trouble Points | DIY Component Cost (Amazon / OEM Stores) | Dyson Out-of-Warranty Depot Rates | Time Spent | Risk Level |
|---|---|---|---|---|
| Airway / Cyclone Clearance | $0 (DIY with standard tools) | $85 – $120 (Plus shipping fees) | 10 mins | Very Low |
| New HEPA Filter Shroud | $15 – $25 ([Part #970013-02]) | $40 + Service fees | 1 min | Very Low |
| Upgraded Click-In Battery | $75 – $110 ([Part #970145-10]) | $149 + Labor charges | 5 mins | Low |
| Main Body Motor Replacement | $90 – $130 (Main Engine Core) | $220 – $300 | 30 mins | High |
Read More
Part 6: Frequently Asked Questions
Why does my Dyson V11 keep cutting out and flashing a filter message?
Your Dyson V11 cuts out because fine particles are caught deep inside the internal paper pleats of the filter shroud. Even if it looks clean to your eye, it restricts airflow just enough to trip the sensitive air pressure safety switch.
How do I factory reset my Dyson V11 vacuum?
There is no manual reset button or software menu option on a Dyson V11 screen. To force a system memory clear after cleaning a clog, slide the click-in battery pack completely out of the handle base, hold the power trigger down for 10 seconds to bleed any remaining electrical charge, and click the battery back in.
Why has my Dyson lost its suction power on thick carpets?
If your vacuum seals flat and conks out on plush carpeting, the high-suction floor seal is trapping it. Locate the red slider switches on the absolute front face of your High-Torque cleaner head. Slide those toggles all the way open toward the “+” indicator mark. This feeds extra air into the head casing, breaking the flat vacuum seal on thick rugs.
Part 7: Full Terms, Conditions, and Legal Indemnification
LIMITATION OF LIABILITY & STIPULATIONS
1. General Content Provision: All technical specifications, component indexes, and breakdown values listed across this guide are presented strictly for general educational use-cases.

2. Technical Damage Waiver: The authors and publishers will hold zero legal or civil liability for localized motor melt-downs, battery damage, or personal injury sustained during independent DIY service attempts.

3. Warranty Boundaries: Conducting structural teardowns or using non-OEM third-party internal components may permanently invalidate active manufacturer protection limits or active home insurance coverages.

Hi, I’m Pranjul — the person behind this website.
I hold a Diploma and B.Tech in Electrical Engineering, along with hands-on training through ITI. For over 3 years, I worked as an ITI College Instructor, teaching electrical fundamentals and practical skills to hundreds of students.
Through that experience, I noticed something: most electrical troubleshooting information online is either too technical for everyday homeowners, or too vague to actually solve real problems. That’s the gap this website aims to fill.