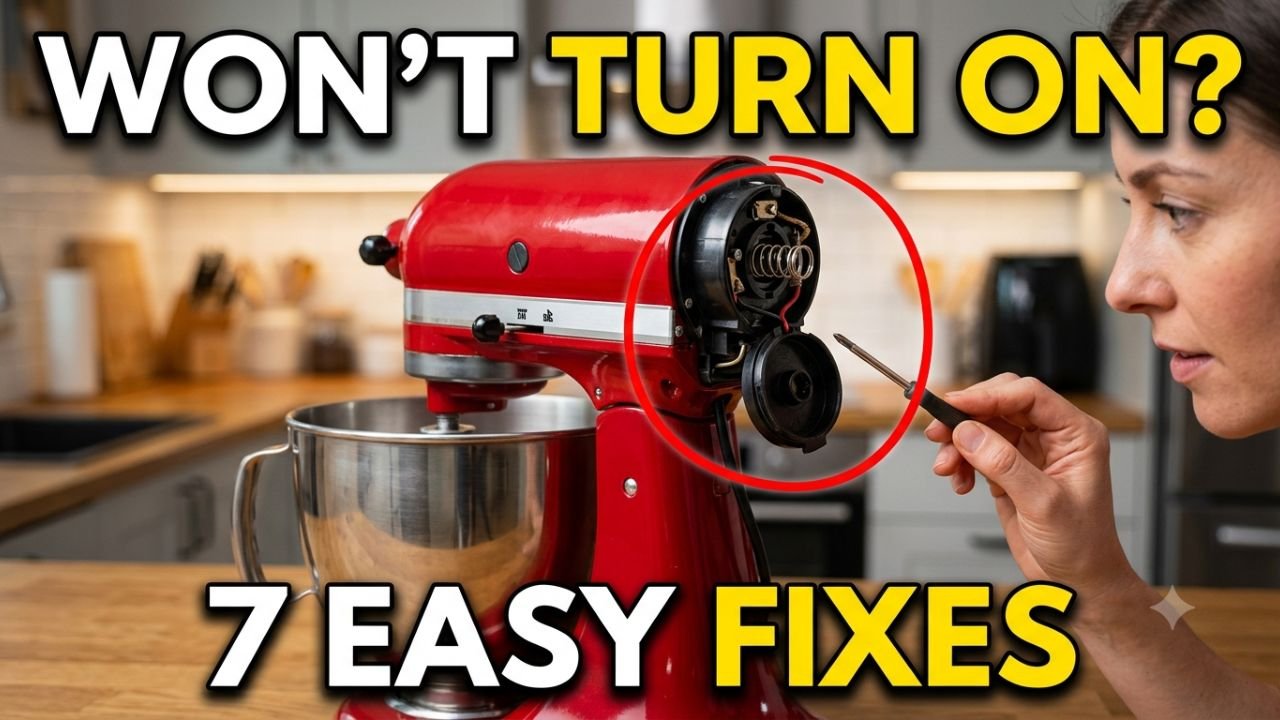
You go to start your mixer and — nothing. No hum, no lights, no movement at all. A KitchenAid stand mixer not turning on is almost never a dead machine; it’s usually one of seven specific things, and most of them take five minutes to check with tools you already own. Whether your KitchenAid mixer won’t start at all or it ran fine yesterday and now shows no signs of life, this KitchenAid stand mixer not turning on troubleshooting guide walks through each cause in order, tells you exactly what to look for and where, and tells you honestly when it’s time to call a technician instead of opening the case further.
Table of Contents
Before you start: Always unplug the mixer before opening any panel, removing screws, or touching internal parts — never work on it while it’s plugged in, even just to look. This is general troubleshooting guidance, not a substitute for a licensed technician; if a step feels outside your comfort zone, it’s fine to stop there and call for service. This page may contain affiliate links; as an Amazon Associate, we may earn from qualifying purchases at no extra cost to you.
Problem 1: Dead Outlet or Power Source
This is the fastest check and the one most people skip because it feels too obvious — but a surprising number of “broken” mixers turn out to be a dead outlet, so it’s worth ruling out a KitchenAid mixer no power issue at the wall before you touch the machine itself.
- Unplug the mixer from the wall outlet.
- Plug in a different small appliance — a phone charger or a lamp works fine — into that exact same outlet, and confirm it powers on.
- If the other device doesn’t work either, the outlet itself is dead. Go to your home’s breaker panel (usually a gray metal box in a basement, garage, or hallway closet) and look for a switch that’s flipped to a different angle than the rest, or a switch labeled for your kitchen. Flip it fully off, then fully back on.
- If you’re using an extension cord or power strip between the mixer and the wall, remove it and plug the mixer directly into the wall outlet instead — these can fail or limit power even when they look fine.
- Once you’ve confirmed the outlet is live and the mixer is plugged directly into it, try turning the mixer on again.
Problem 2: Tripped Thermal Overload (Overheating)
Symptom: The mixer was working, then stopped mid-use — especially if you were mixing something heavy like bread dough, or running it for a long stretch. KitchenAid mixer overheating is a common, built-in safety response, not a sign of a broken machine.
- Unplug the mixer right away if it stopped while running.
- Leave it unplugged and let it sit for a full 20 to 30 minutes. This isn’t optional — a KitchenAid mixer thermal overload switch is built in specifically to protect the motor from overheating, and it needs that time to reset on its own.
- After the wait, plug it back in and try turning it on.
- If it starts working again, the fix going forward is to avoid what triggered it: don’t overload the bowl beyond the mixer’s rated capacity, use a lower speed for heavy mixtures like stiff dough, and give the mixer a short rest between long back-to-back runs.
- If it still won’t turn on after the full 20–30 minute cool-down, the thermal protector itself (or the wiring feeding it) may have failed — move on to the next problem rather than repeating the wait.
Problem 3: Worn or Stuck Carbon Brushes
Worn KitchenAid mixer carbon brushes are one of the most common reasons a mixer goes completely silent — no hum, no motor sound, nothing — because these small parts are what actually carry electricity into the spinning motor.
- Unplug the mixer completely before doing anything here.
- Look at each side of the motor housing (the main body of the mixer, above the tilt head). You’ll see a small round black cap, about the size of a large coin, that looks like a slotted screw head — there’s one on each side.
- Unscrew both caps by hand or with a flathead screwdriver, turning counterclockwise.
- Behind each cap is a small rectangular carbon brush with a spring attached. Pull each one out gently and look at its length and condition.
- A healthy brush is roughly 1/2 inch long. If either one measures noticeably shorter than that — especially close to 1/4 inch or less — or if the tip looks chipped, cracked, or frayed, that brush needs replacing.
- Also check that each brush slides smoothly in and out of its housing and that the spring pushes it back out on its own. A brush that feels stuck or gritty inside its slot can cause the same no-power symptom even if it hasn’t worn down much. If a brush won’t come out at all — this usually means its spring has slipped loose inside — don’t force it with a metal tool. This typically needs the mixer opened up fully to push the brush out from the inside, which is a reasonable point to hand off to a technician rather than risk damaging the housing.
- While you have the caps off, take a moment to brush away any flour dust or debris around the brush housings with a dry cloth or small brush, and give the visible screws and wire connectors a gentle check to make sure nothing’s come loose. A dirty contact or one loose screw is sometimes the entire problem.
- If both brushes look fine and move freely, put them back in the same orientation they came out. This matters more than it sounds: each brush has a curved tip that needs to match the curve of the motor’s armature (the spinning part inside) — if you insert one backward, the mixer will act completely dead again even though nothing is actually wrong with the part. Screw the caps back on once you’re confident they’re seated correctly.
- If either brush is worn short or damaged, order a replacement pair for your exact model — always replace both at the same time even if only one looks bad, since they wear at a similar rate and mismatched brushes cause uneven power delivery. Insert the new ones the same way, curved tip facing in to match the armature.
Problem 4: Damaged Power Cord or Plug
A frayed or loose KitchenAid mixer power cord is one of the simpler things to rule out, and it matters for safety as much as for getting the mixer running again.
- With the mixer unplugged, run your fingers along the entire length of the power cord, from where it enters the mixer body to the plug itself.
- Feel and look for fraying, cracks in the outer coating, or any spot that feels flattened or pinched.
- Check the plug prongs themselves for looseness, bending, or discoloration (a brownish or blackish tint near the base can indicate past overheating at the outlet).
- Gently wiggle the cord right where it enters the mixer housing while it’s unplugged — if the cord feels loose or moves more than expected at that entry point, that connection may be intermittent.
- If you find any fraying, exposed wire, or damage, stop using the mixer and don’t attempt to tape over it — replace the cord entirely. Frayed cords are a genuine shock and fire risk, not just a performance issue.
- If the cord looks fully intact, move on to the next problem.
Problem 5: Broken Internal Wire (Tilt-Head Models Only)
This is a lesser-known but genuinely common issue specific to tilt-head KitchenAid mixers (the kind where the whole motor head tilts back, rather than the bowl lifting up). Repeated tilting over years can put tension on an internal wire until it eventually snaps.
- Unplug the mixer before doing anything here.
- Turn the mixer over, or tilt it carefully on its side, to access the underside of the base.
- Look for an access panel or plate on the underside — on models with a built-in circuit breaker, this is usually where it’s housed.
- Remove the panel screws and take a look inside at the visible wiring, particularly a white wire that commonly runs near the tilt hinge.
- Check whether any wire has pulled loose from its connector or snapped due to repeated tilting stress over time.
- If you find a disconnected or broken wire and you’re comfortable with basic wire repair, it can be reattached — ideally adding a little extra slack in the wire so future tilting doesn’t put it under the same tension again. If this feels beyond your comfort level, this is a reasonable point to call a technician, since it involves working directly with electrical wiring.
Problem 6: Speed Control Plate or Governor Failure
Symptom: You’ve checked power, thermal reset, brushes, and cord, and the mixer still won’t turn on — or it turns on with some speeds but not others.
- Unplug the mixer and remove the top or back housing cover (typically a few screws — check your specific model’s panel layout, since this varies).
- Locate the speed control plate — a small internal assembly connected to the speed lever, using a spring and small copper contacts to regulate power at each speed setting.
- Visually inspect the contacts for obvious burning (a dark, scorched look), corrosion (greenish or white crust), or a contact that looks physically stuck rather than springy.
- Move the speed lever slowly by hand while watching the plate to see whether the mechanical linkage between the lever and the plate is moving together, or whether something has slipped out of alignment.
- If you have a multimeter and are comfortable with basic continuity testing, this component can be checked electrically — but a visibly burned or corroded contact plate is enough on its own to confirm it needs replacement, no meter required.
- This part is fiddly to source and replace correctly on some models — if you’re not confident identifying the exact plate or governor assembly for your mixer, this is a reasonable step to hand off to a technician rather than guess at a part number.
- On digital or commercial KitchenAid models, there’s sometimes a separate phase control board mounted just above the speed control plate, handling power distribution rather than speed itself. If your mixer has one and the speed plate checks out fine, that board is worth a visual inspection too — look for the same signs of burning or damage — before assuming the problem is the motor itself.
Problem 7: Internal Motor or Gear Failure
Only reach this point if you’ve gone through Problems 1 through 6 and the mixer still won’t turn on at all. This is the least common cause and the most involved to confirm.
- With everything else ruled out, listen very carefully one more time when you try to turn the mixer on — even a very faint hum or buzz (rather than complete silence) suggests the motor is getting some power but isn’t able to spin, which points toward an internal mechanical jam rather than a purely electrical fault.
- If something hard fell into the mixing bowl during previous use — a measuring spoon, the attachment hub cover, or a hard ingredient — it’s possible for that to have stripped or damaged an internal gear, which can prevent the motor from turning even though it’s receiving power.
- Complete silence with zero hum at all, after every problem above has been ruled out, usually points to internal motor winding failure or a failed control board on digital models.
- At this stage, opening the gearcase and inspecting internal gears and motor windings requires disassembly skills and often specialized parts. This is the point where it genuinely makes the most sense to contact KitchenAid support or a local appliance technician — you’ve already done the complete diagnostic work by ruling out everything simpler.
KitchenAid Stand Mixer Not Turning On Troubleshooting: Repair Cost, DIY vs. Professional
| Trouble Point | DIY Part Cost | US Avg. Pro Repair | Time |
|---|---|---|---|
| Outlet / breaker check | $0 | $0 (self-check) | 5 min |
| Thermal overload reset | $0 | $0 (self-check) | 20–30 min wait |
| Carbon brush replacement | $8–$15 (OEM pair) | $70–$120 (incl. labor) | 15–20 min |
| Power cord replacement | $12–$25 (OEM) | $70–$110 (incl. labor) | 15–20 min |
| Speed control plate / governor | $20–$45 (OEM) | $90–$150 (incl. labor) | 30–40 min |
| Motor / gear repair | $40–$90 (OEM parts) | $120–$220 (incl. labor) | 45–60 min |
Prices are general US market ranges as of 2026 and vary by exact model — confirm against your model number before ordering.
Frequently Asked Questions
If you’ve worked through all seven problems above, you’ve now covered every realistic cause of a KitchenAid stand mixer not turning on — most people solve it within the first three.
Why did my KitchenAid mixer suddenly stop working?
If it stopped mid-use rather than failing to start at all, it likely tripped its thermal overload protector from overheating. Unplug it, let it rest 20–30 minutes, and try again before checking anything else.
How do I know if my KitchenAid mixer carbon brushes are worn out?
Unplug the mixer, remove the small caps on either side of the motor housing, and check the brushes inside. Healthy brushes are roughly 1/2 inch long; anything noticeably shorter, or visibly chipped or cracked, should be replaced as a pair.
Is it normal for a KitchenAid mixer no power situation to be an easy fix?
Yes, more often than not. A dead outlet, a tripped thermal switch, or worn carbon brushes account for the large majority of cases, and all three are checks or repairs most people can do themselves in under 30 minutes.
For manufacturer-specific troubleshooting on your exact model, KitchenAid maintains an official Not Turning On support page worth checking as well. For anything beyond what’s covered here, a search for “KitchenAid stand mixer repair” plus your model number will usually turn up model-specific service manuals too.
Related: see our guides on fixing a Whirlpool dishwasher that’s not draining completely and resetting a GE dishwasher with blinking lights for more kitchen appliance fixes.

Hi, I’m Pranjul — the person behind this website.
I hold a Diploma and B.Tech in Electrical Engineering, along with hands-on training through ITI. For over 3 years, I worked as an ITI College Instructor, teaching electrical fundamentals and practical skills to hundreds of students.
Through that experience, I noticed something: most electrical troubleshooting information online is either too technical for everyday homeowners, or too vague to actually solve real problems. That’s the gap this website aims to fill.